Create a Job
This guide explains how to submit a new job using the Create Job form, including setting application parameters, configuring resources, and entering custom commands.
Step 1: Access the Create Job Form
Navigate to Jobs > Create Job in the platform's menu.

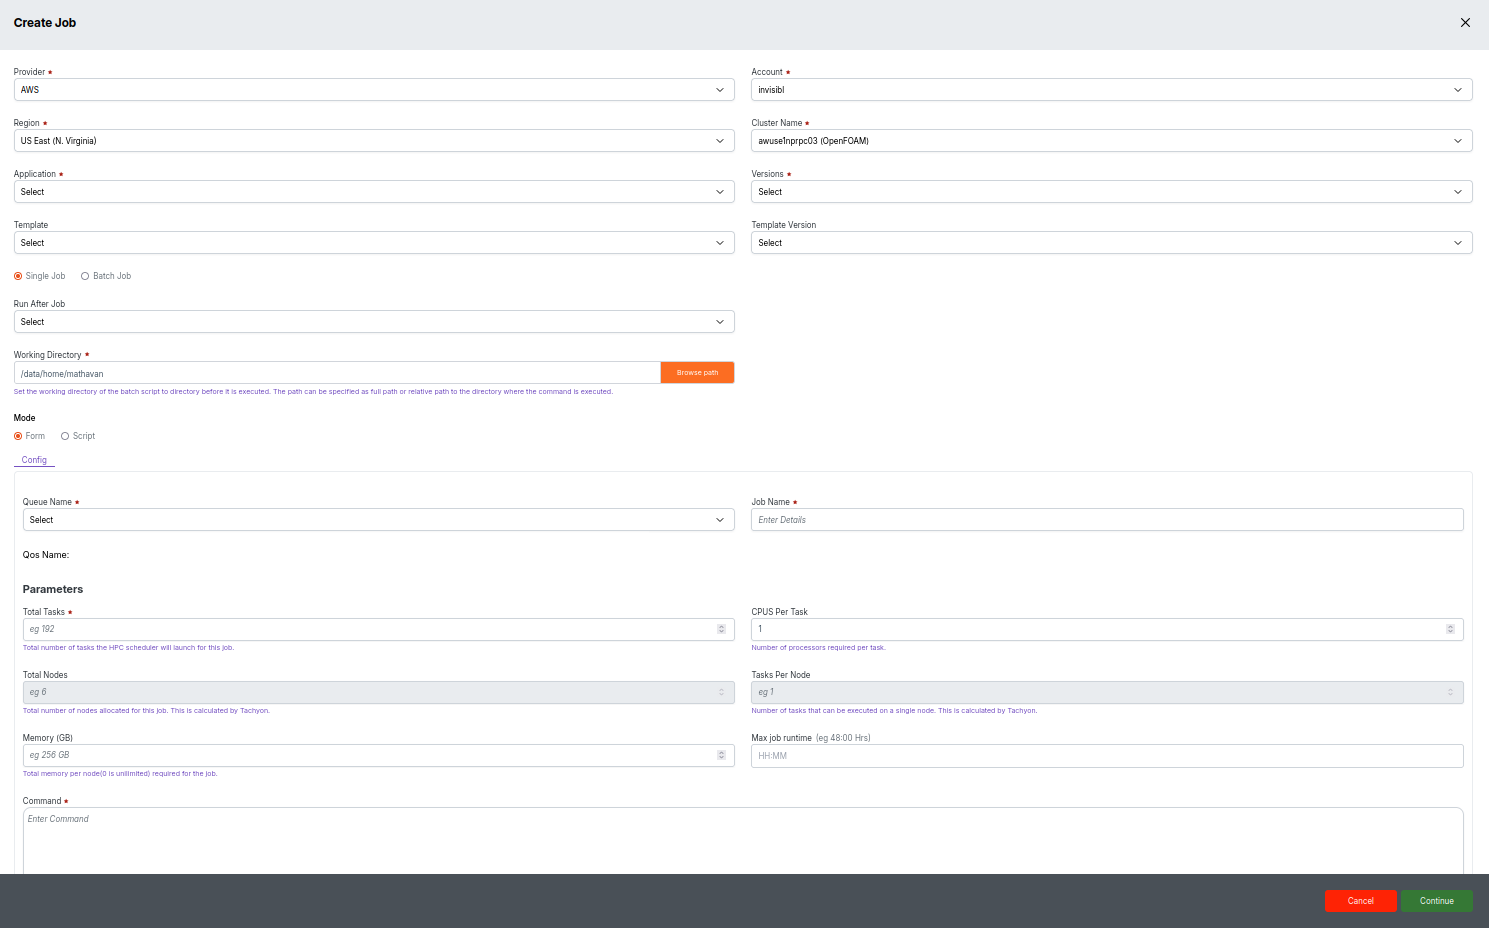
You will see a form similar to the image below:
Step 2: Fill in Required Details
Complete the following mandatory fields:
- Provider: Select your cloud or HPC provider (e.g., AWS).
- Account: Choose your account for billing or access.
- Region: Pick the geographic location (e.g., US East N. Virginia).
- Cluster Name: Select the target cluster.
- Application: Pick the application to run (required for proper environment).
- Version & Template: Choose the desired options as per workflow.
- Run After Job: (Optional) Chain jobs together by specifying a dependency.
- Working Directory: Enter the full or relative path where batch scripts and outputs will be stored.
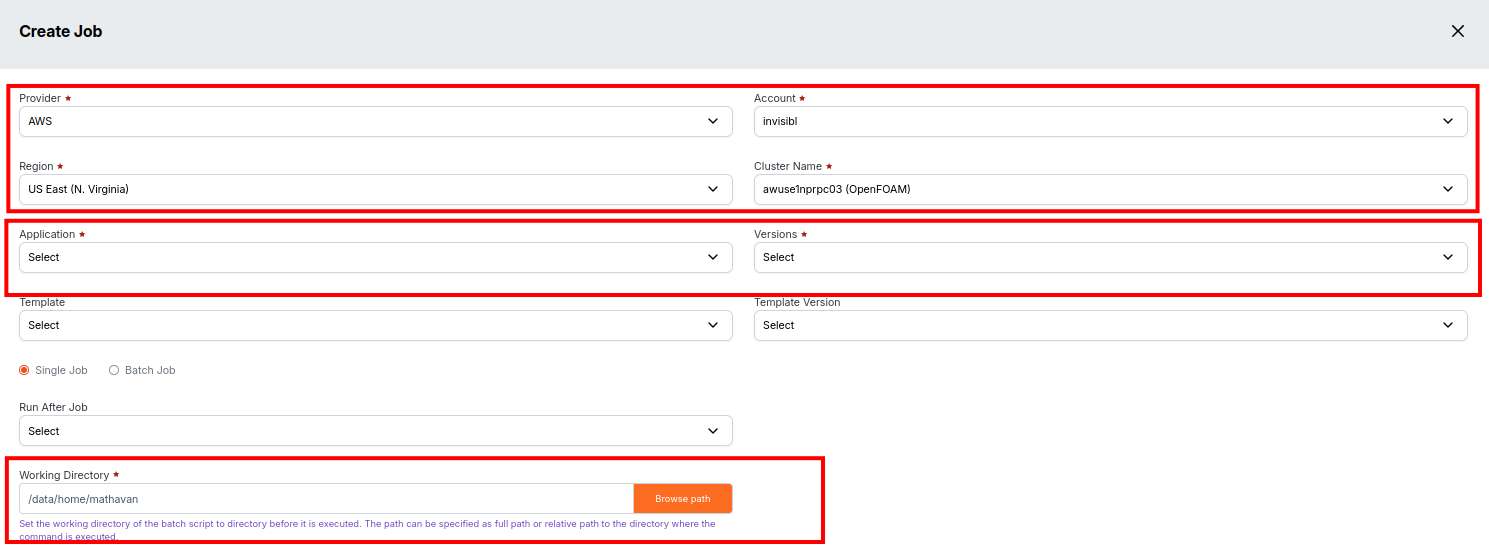
For directory browsing, click Browse path to select the location interactively.
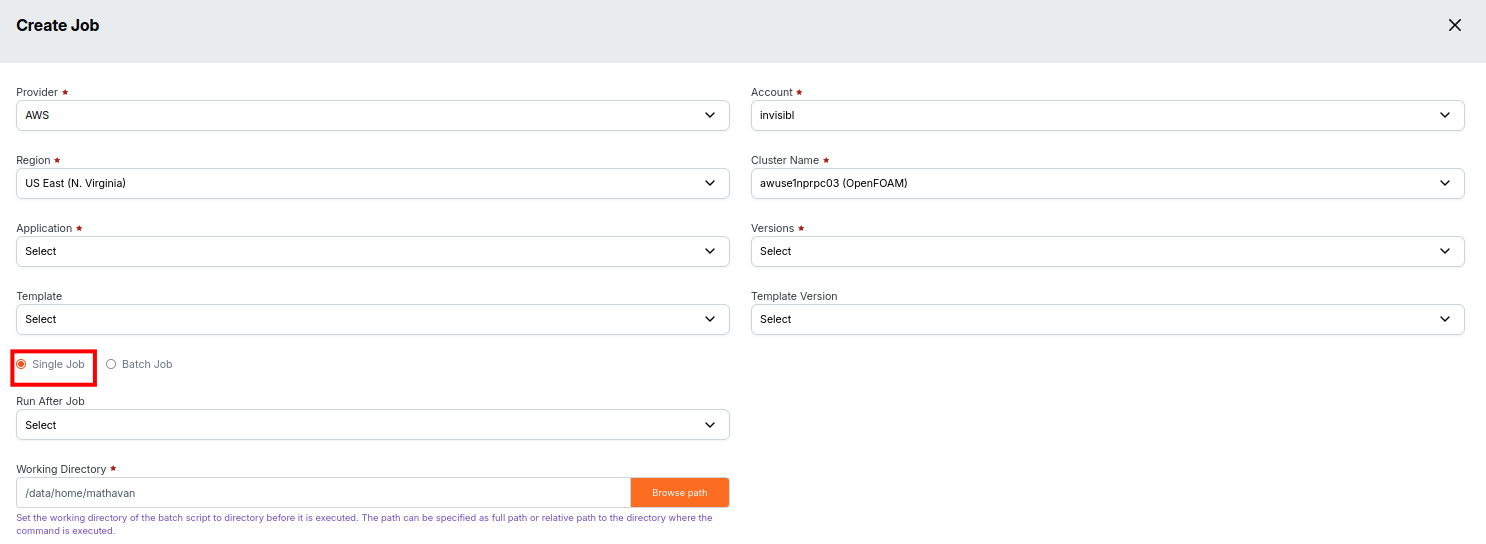
Step 3: Choose Job Type
Select either:
- Single Job: For standalone runs.
- Batch Job: For grouped, recurring, or workflow jobs.
To create a batch job, please follow the steps explained in the Create Batch Job guide.
Step 4: Configure Submission Mode
Choose how you want to fill parameters:
- Form: Use the graphical form interface.
- Script: Enter your batch script directly.

You can switch modes using the Config toggle.
To create a script job, please follow the steps explained in the Create Script Job guide.
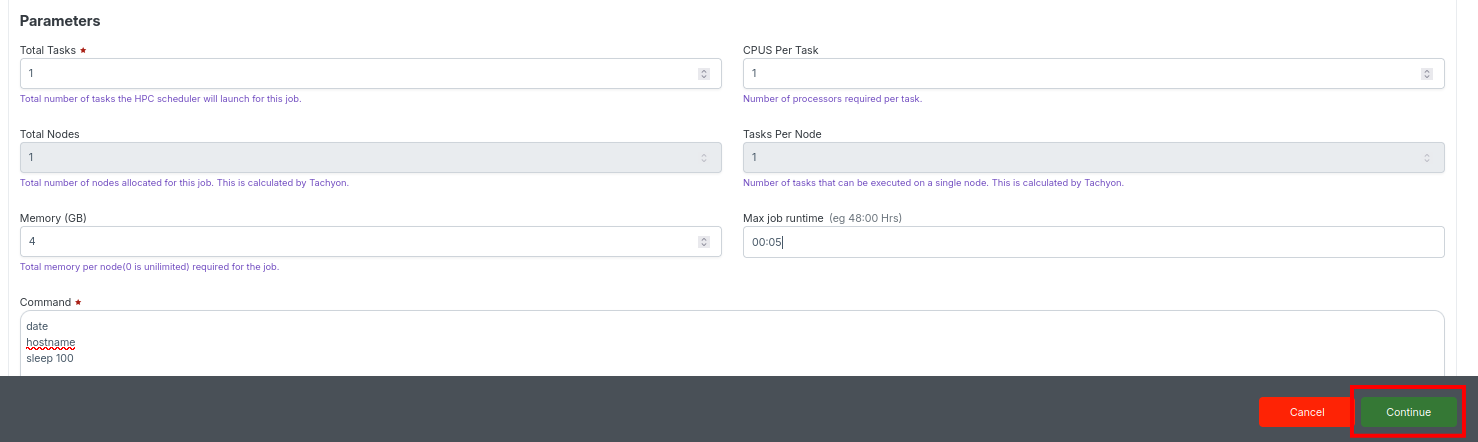
Step 5: Set Resource Parameters
- Queue Name: Select the job queue for scheduling resources.
- Job Name: Enter a descriptive name for your job.
- QoS Name: (If available) Pick quality-of-service for job priority.
- Total Tasks: Enter the total number of tasks the HPC scheduler will launch (e.g., 192).
- CPUs Per Task: Specify the number of processors required per task.
- Total Nodes: Enter the total number of nodes allocated for the job (e.g., 6).
- Tasks Per Node: Enter the number of tasks that can be executed on a single node (e.g., 1).
- Memory (GB): Specify the total memory per node (e.g., 256 GB). Use 0 if unlimited.
- Max Job Runtime: Specify the maximum runtime for the job (e.g., 48:00 Hrs).
- Command: Enter the command or script to be executed.

Step 6: Review and Submit
After completing all required fields:
- Click Continue to proceed.
- Review your input — especially resource settings.
- To edit the form, click Continue, make the required changes in the field or command, and then click Continue again.
- When you edit a field, the button automatically switches from Submit to Continue.
Step 7: Budget Validation
Click Continue.
The system will validate if the required budget is available.

Step 8: Submit the Job
Once validation passes, click Submit.
A success message will confirm job submission along with a Job ID.
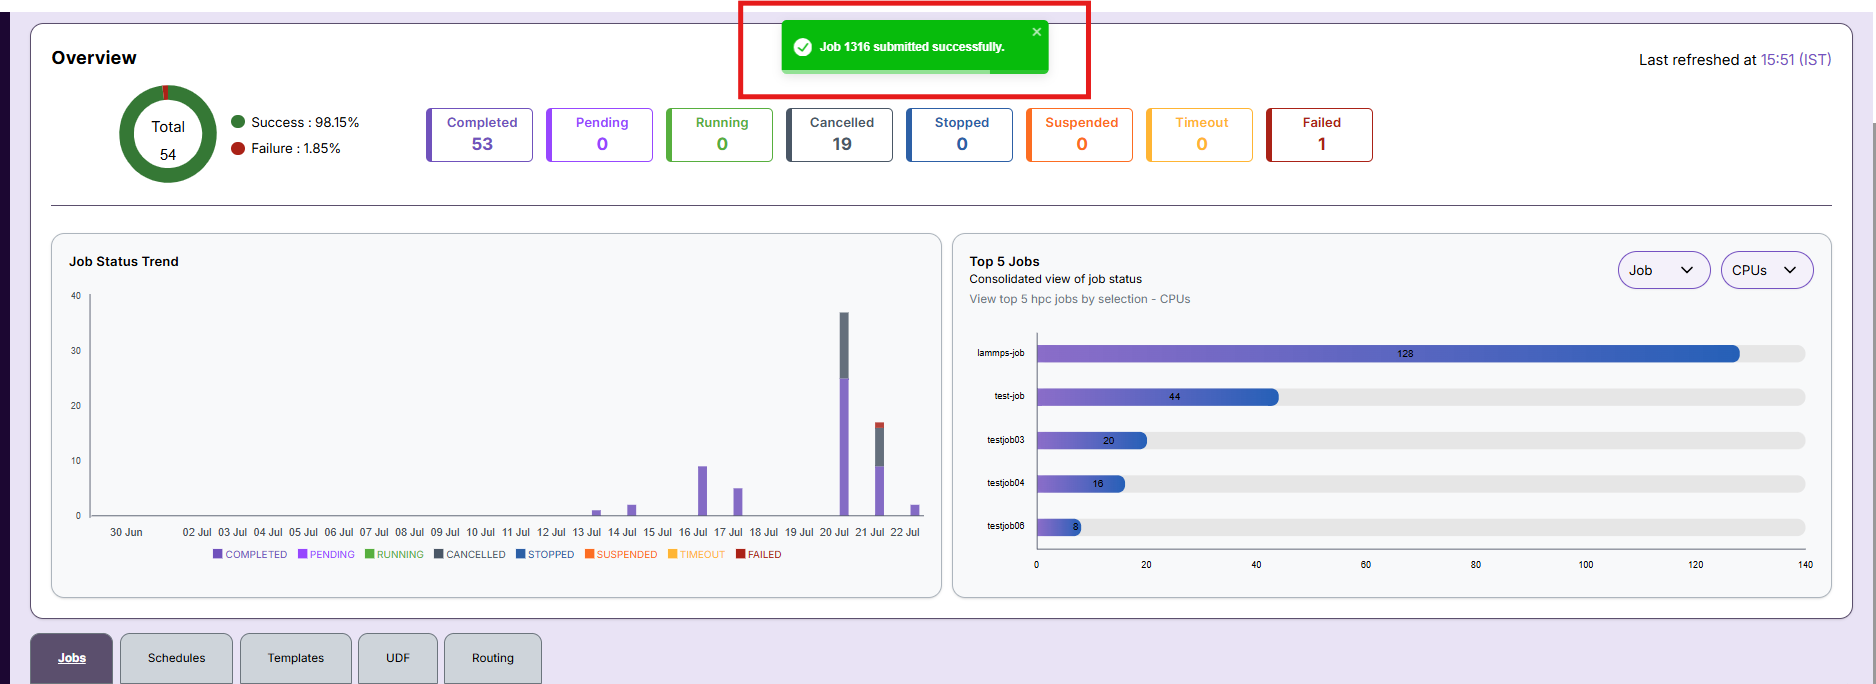
Step 9: Track Jobs
Monitor submitted jobs in the Jobs dashboard. Status indicators include:
- Queued
- Running
- Completed
- Failed

- To view detailed information about jobs, please follow the steps explained in the Job Details guide.
-
General Notes
- Use Create Job for all new job submissions.
- For workflow-based or dependent jobs, use Create Routing Job.
- If any field is unclear or the form does not submit, double-check all mandatory fields and the working directory path.
- For job failures or workflow errors, consult log files attached to each job record.
- For persistent issues, or if you need guidance on a field, reach out to the Admin for support.