Upload & Compression
File Manager allows you to upload files, upload and extract archives, compress selected items, and extract existing archives into a chosen destination folder.
Upload Files
Choose Files
- Open File Manager and navigate to the destination directory.
- Open Actions → Upload.
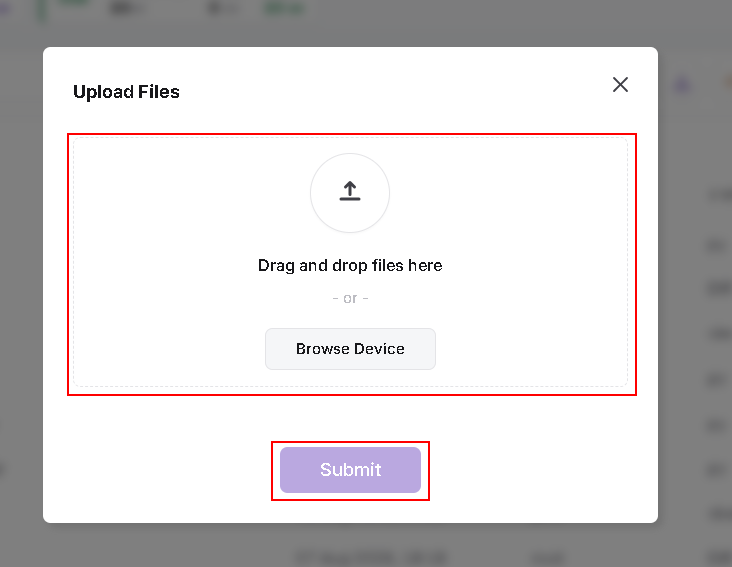
- In the Upload Files dialog, add files using either method:
- Click Browse Device and select files from your computer.
- Drag and drop files into the upload area.
Review and Submit
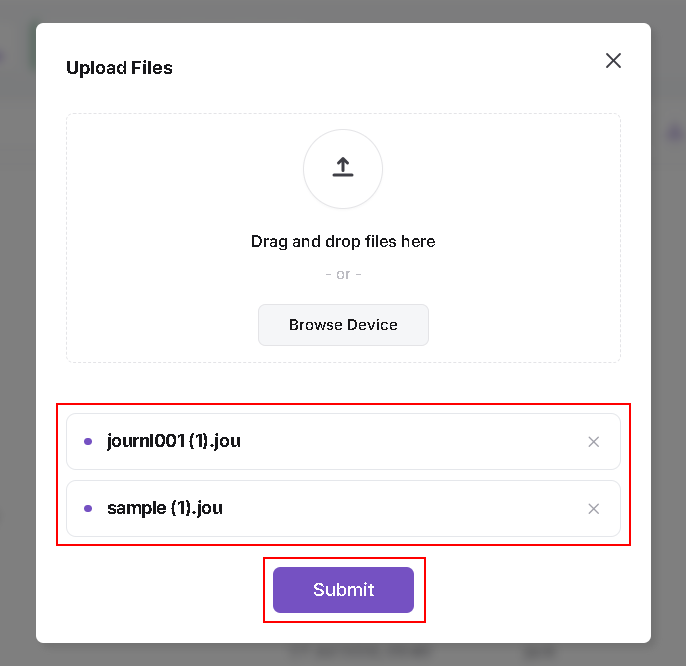
- Review the selected files listed in the dialog.
- To remove an unwanted file from the selection, click the X beside its name.
- Click Submit to begin uploading.
Monitor Upload Progress
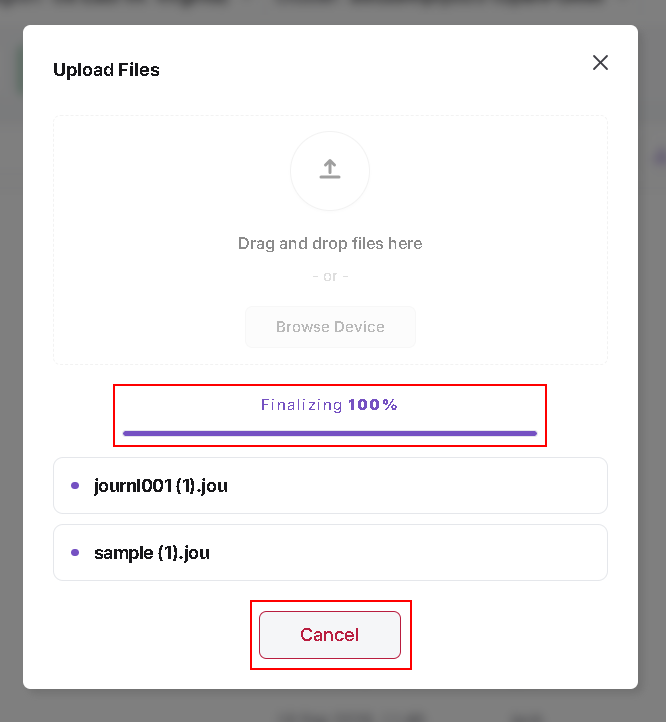
The dialog displays the upload status, a percentage, and a progress bar. It also lists the files being transferred.
A Cancel button is available while the upload is in progress.
Wait for the operation to finish, then check the destination directory for the uploaded files. Use the File Manager refresh control if needed.
The screenshot below shows the upload at the Finalizing 100% stage.
Upload and Extract an Archive
Use Upload and Extract to upload an archive from your computer and extract its contents.
Supported archive formats are:
.zip.tar.tar.gz
Select the Archive
- Navigate to the directory where you want to upload and extract the archive.
- Open Actions → Upload and Extract.
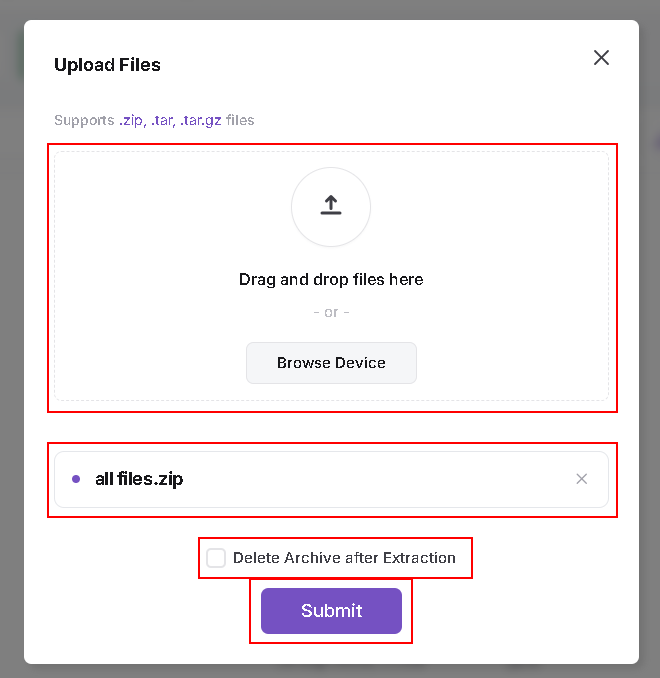
- Click Browse Device to select an archive, or drag and drop it into the upload area.
- Review the selected archive name.
- Optionally, select Delete Archive after Extraction if you want the uploaded archive removed after extraction.
- Click Submit.
Monitor the Operation
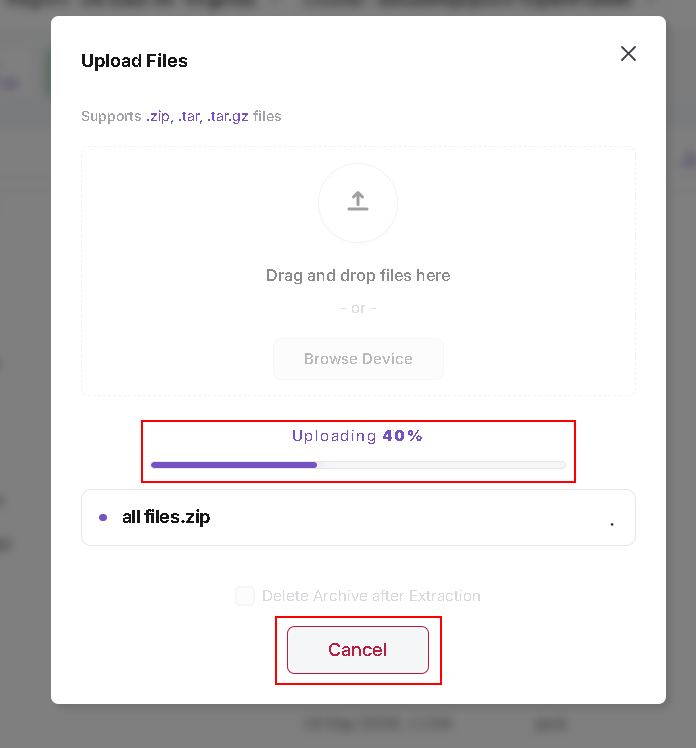
The dialog displays the upload status and progress percentage. A Cancel button is available while the upload is in progress.
The screenshot below shows the archive upload in progress. It does not show completed extraction.
After the operation finishes, check the destination directory for the extracted contents.
Compress Files and Folders
Use Compress to create an archive from selected files or folders.
Create an Archive
- Navigate to the directory containing the items.
- Select an item, or hold Ctrl and click additional files or folders to select multiple items.
- Open Actions → Compress.
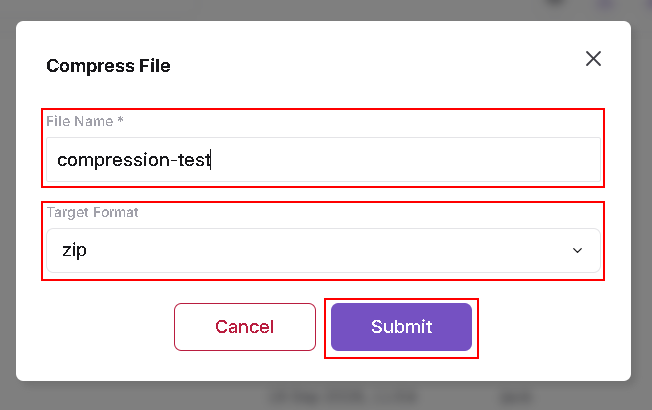
- In the Compress File dialog, enter an archive name in File Name.
- Review Target Format. The example below uses zip.
- Click Submit to start compression.
Click Cancel to close the dialog without starting compression.
Verify the Created Archive
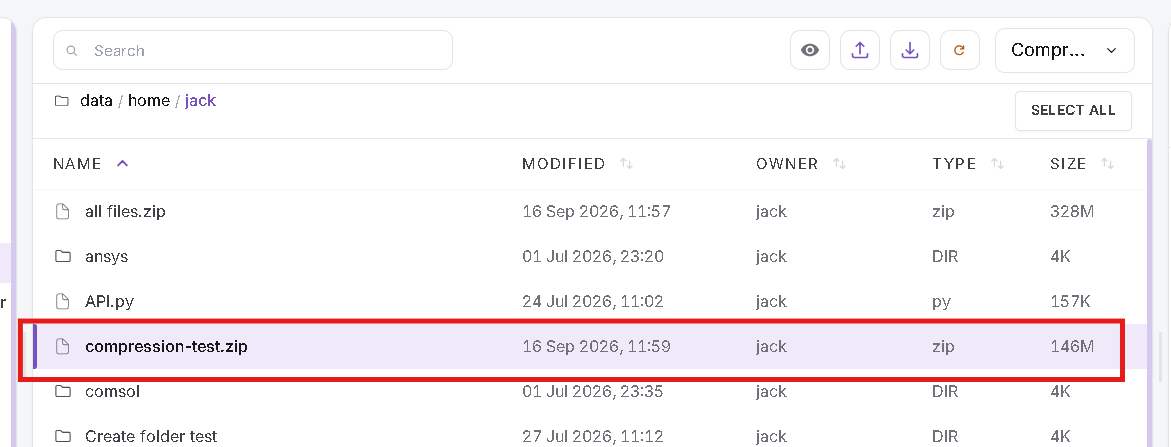
After compression finishes, locate the archive in the current directory.
In this example, the name compression-test with the zip target
format produces compression-test.zip.
Extract an Existing Archive
Use Extract for a supported archive already stored in File Manager.
Supported formats are .zip, .tar, and .tar.gz.
Select the Archive
- Navigate to the directory containing the archive.
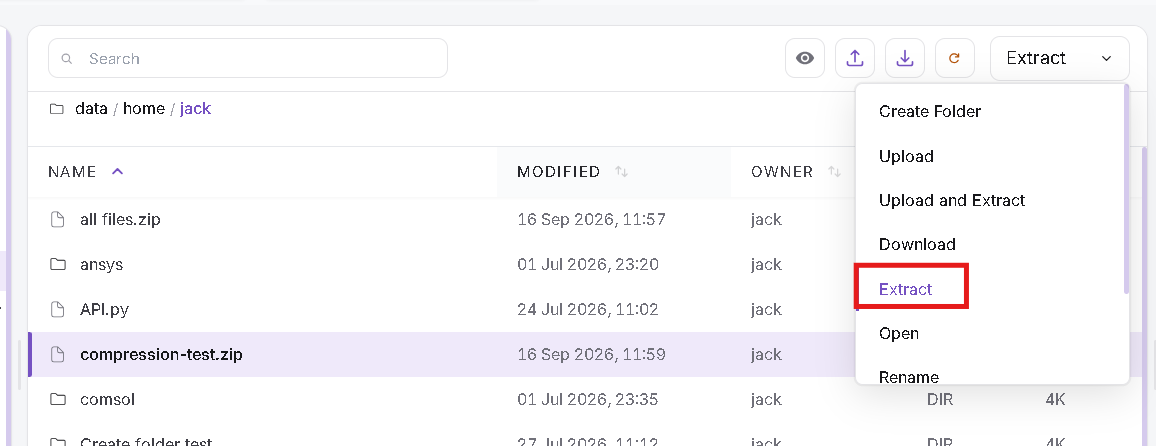
- Select the archive.
- Open Actions → Extract.
Choose the Destination
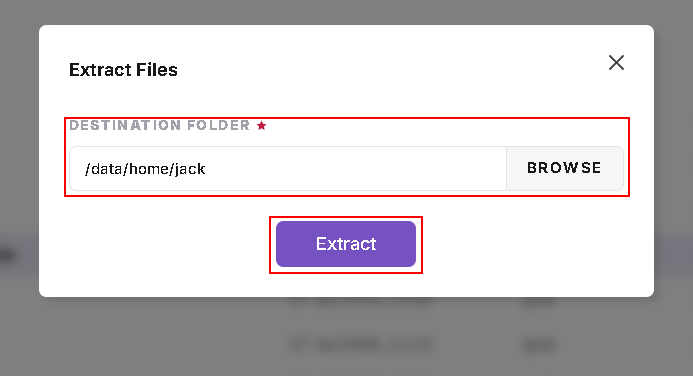
- In the Extract Files dialog, review the Destination Folder.
- Click Browse to choose the folder where the contents should be extracted.
- Confirm the folder selection and check the displayed destination path.
- Click Extract to start extraction.
Verify the Extracted Contents
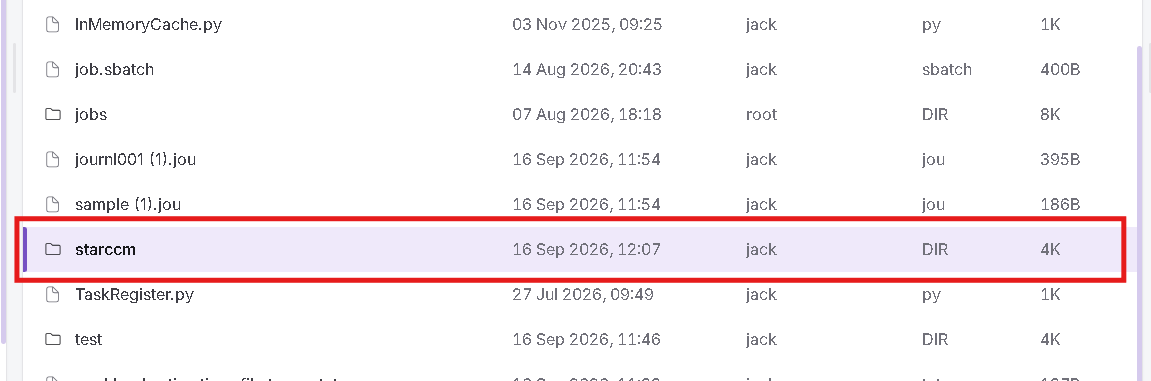
After extraction finishes, open the destination folder and check the extracted files or folders.
Use the File Manager refresh control if the listing has not updated.
General Notes
- Check the current directory before uploading or compressing files.
- Check the destination path before starting extraction.
- Select Delete Archive after Extraction only when you want the uploaded archive removed after extraction.
- Wait for the operation to finish before checking its result.
- Contact your administrator if an upload, compression, or extraction operation fails.