Software Catalog
The Software Catalog provides a centralized inventory for creating and managing software packages that can be made available to Workstations, Clusters, or both. The page contains the Applications and AI Surrogate Models tabs. This guide covers the Applications workflow; the AI Surrogate Model workflow can be documented separately when required.
Software Catalog Overview
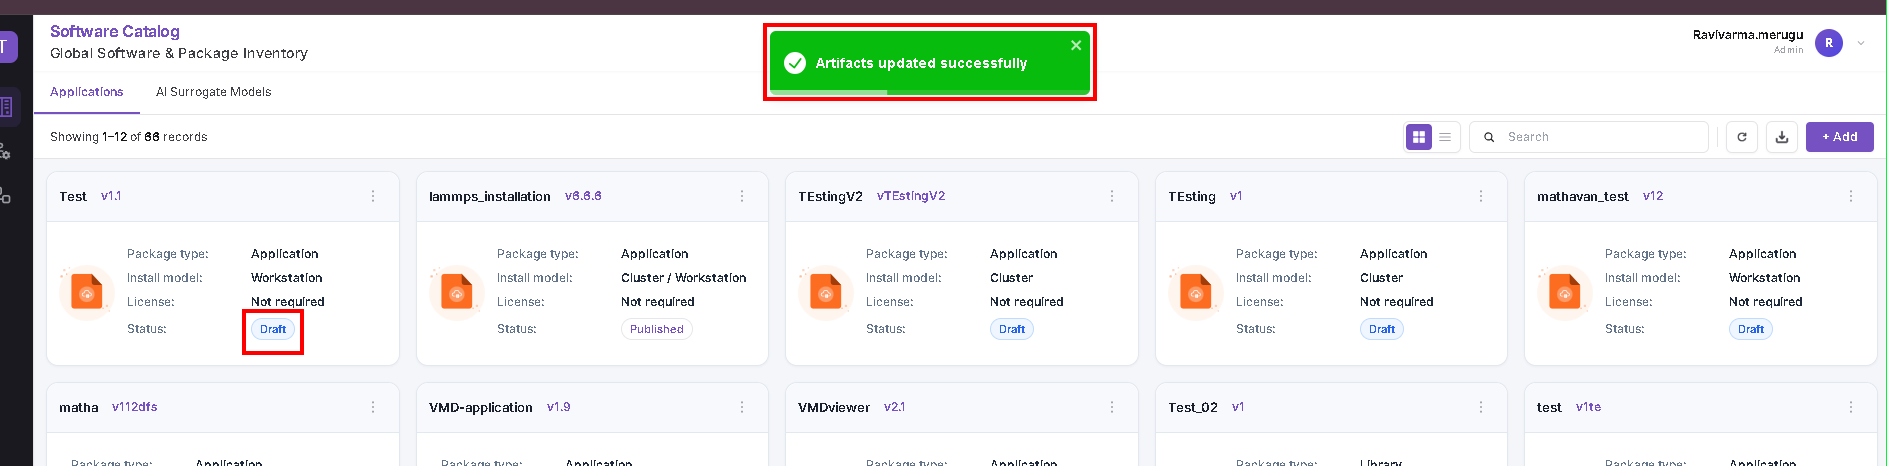
Open Software Catalog from the left navigation and select Applications. Existing application cards show package information, installation model, license requirement, and current status. To create a new application, click the Add (+) button in the upper-right corner.
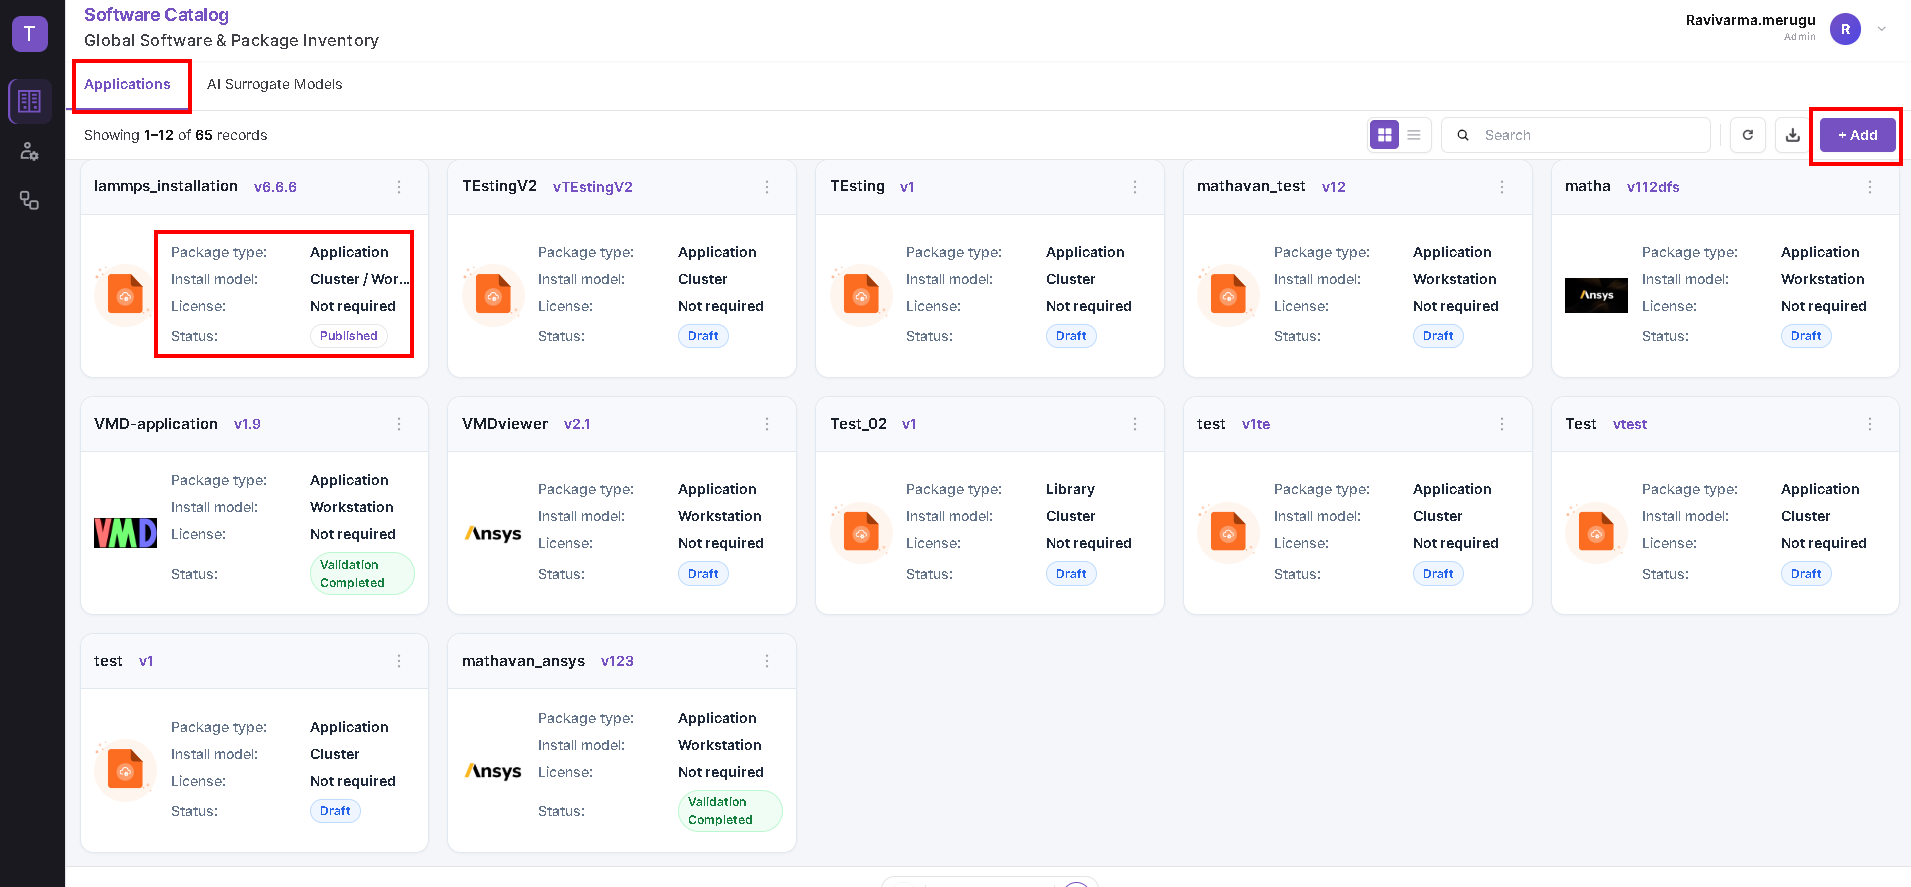
Create an Application
The Create Application – Configuration Wizard uses the same three-step creation flow for Workstation and Cluster packages:
General → Artifacts → Results
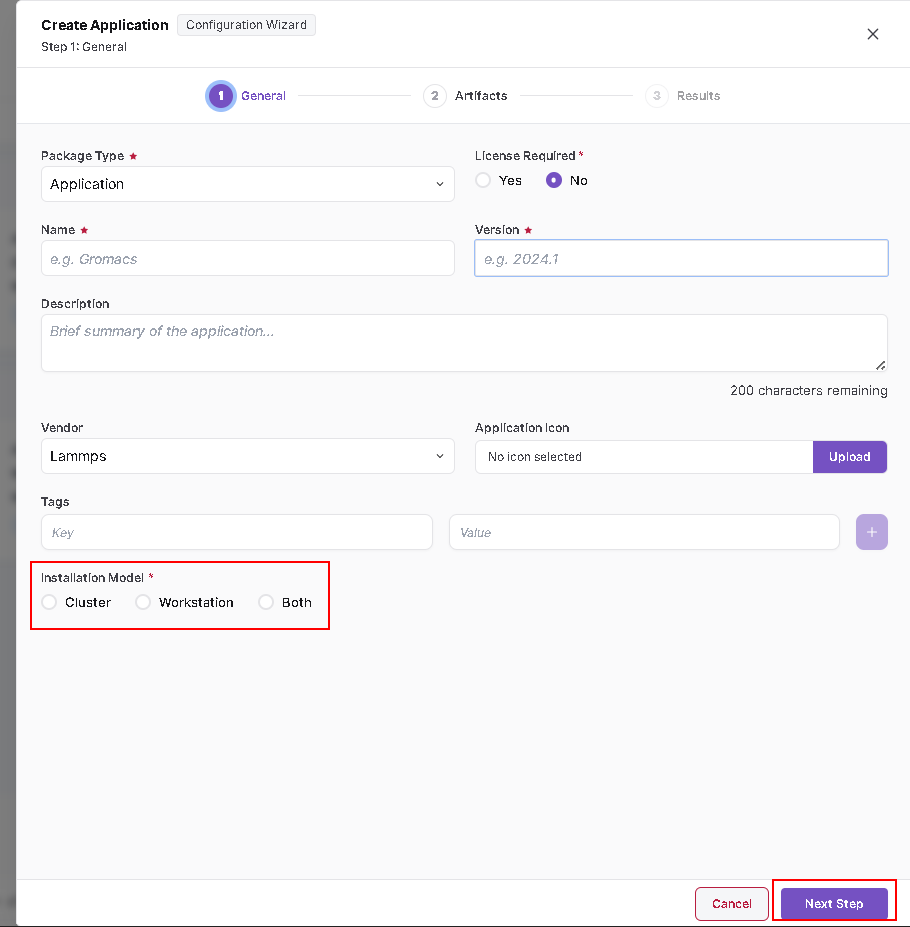
Step 1 — General
Enter the application details:
- Package Type
- License Required
- Name
- Version
- Description (optional)
- Vendor
- Application Icon (optional)
- Tags (optional)
- Installation Model — Cluster, Workstation, or Both
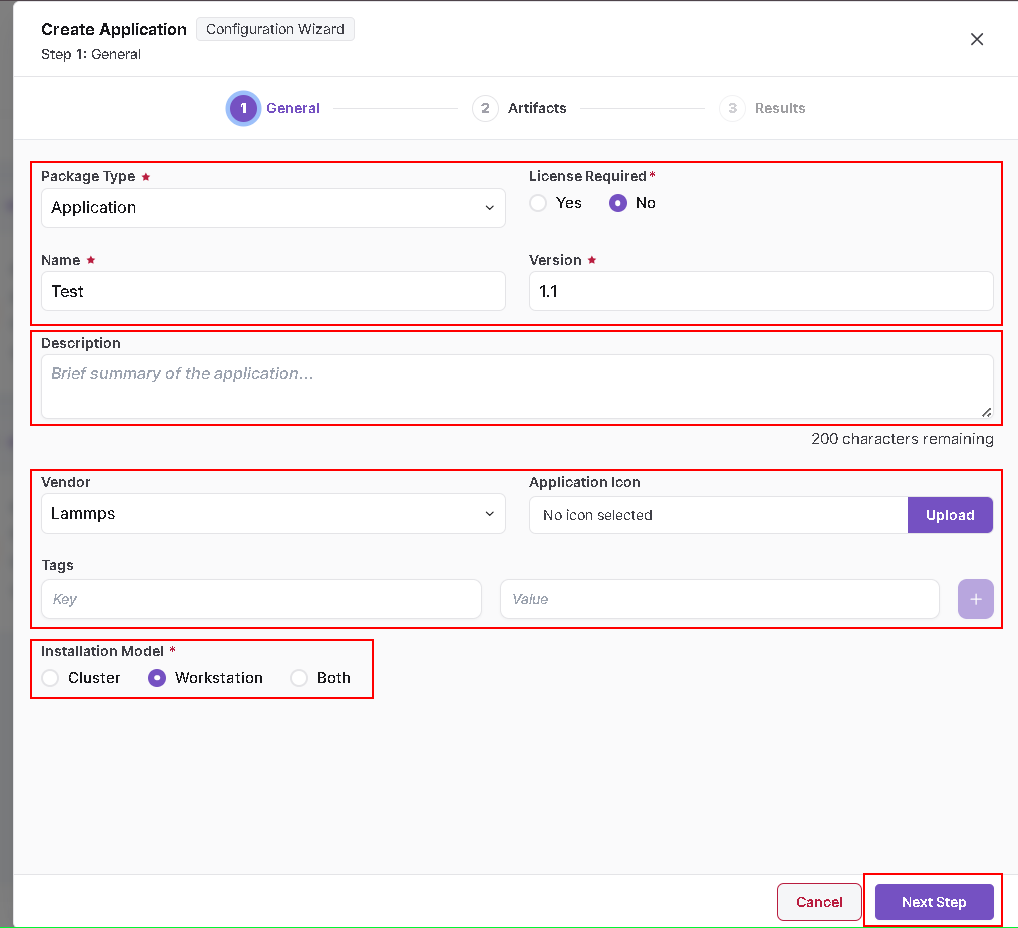
Select Workstation to create a Workstation catalog item, Cluster to create a Cluster catalog item, or Both when the same package must be prepared for both targets. When Both is selected, submission creates the corresponding Workstation and Cluster items, which then follow their respective post-publication flows.
Click Next Step.
Step 2 — Artifacts
Configure the artifacts required to install and validate the application. The same artifact configuration pattern is used for Workstation and Cluster targets.
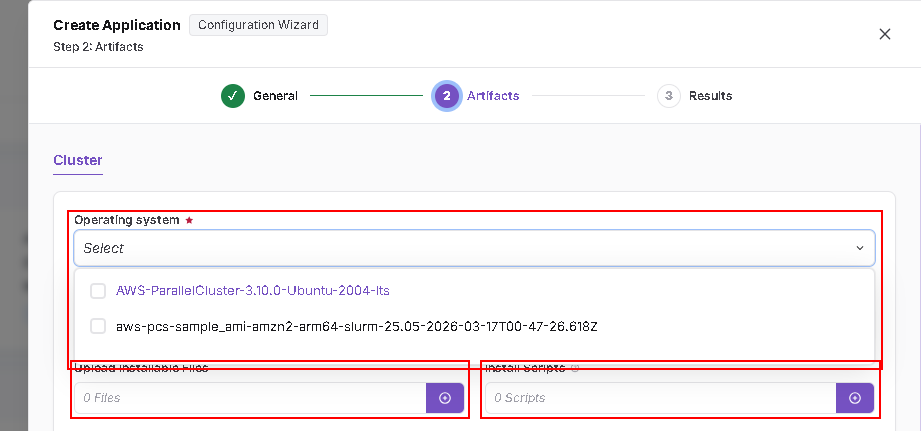
For a Workstation package, select the supported Operating system and configure the required artifact information.
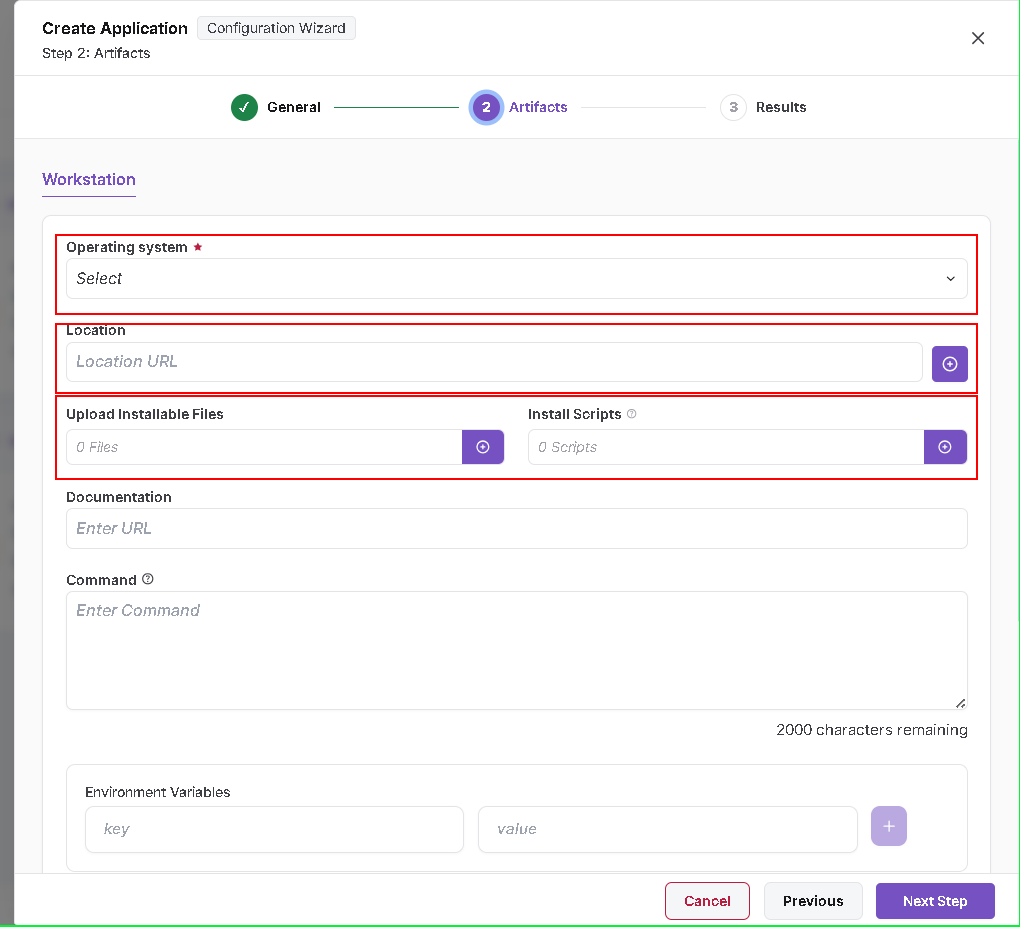
Upload Installable Files
Under Upload Installable Files, click the + button, select the required installable/package file, and start the upload.
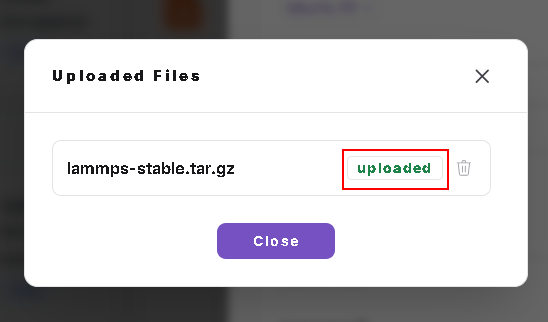
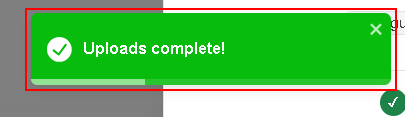
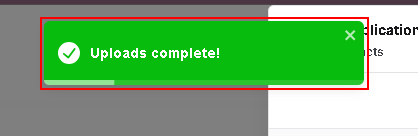
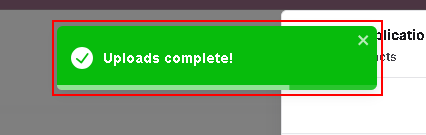
Wait for the Uploads complete! confirmation before continuing.
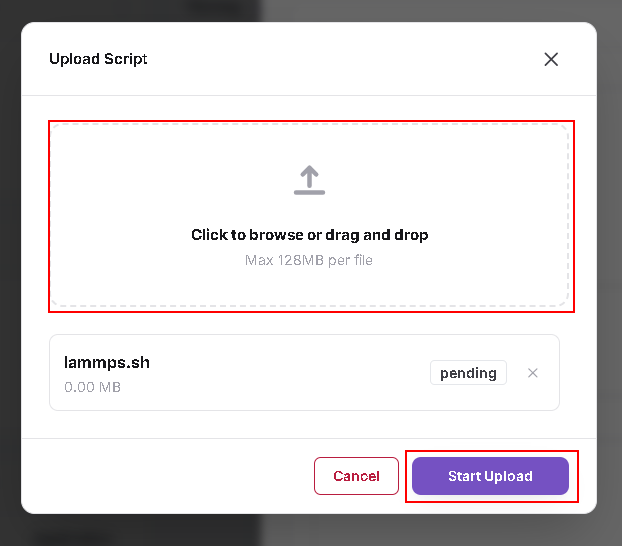
Upload Installation Script
Under Install Scripts, click the + button and upload the script used to install/configure the application.
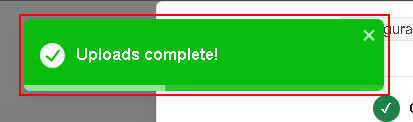
Confirm that the script upload completes successfully.
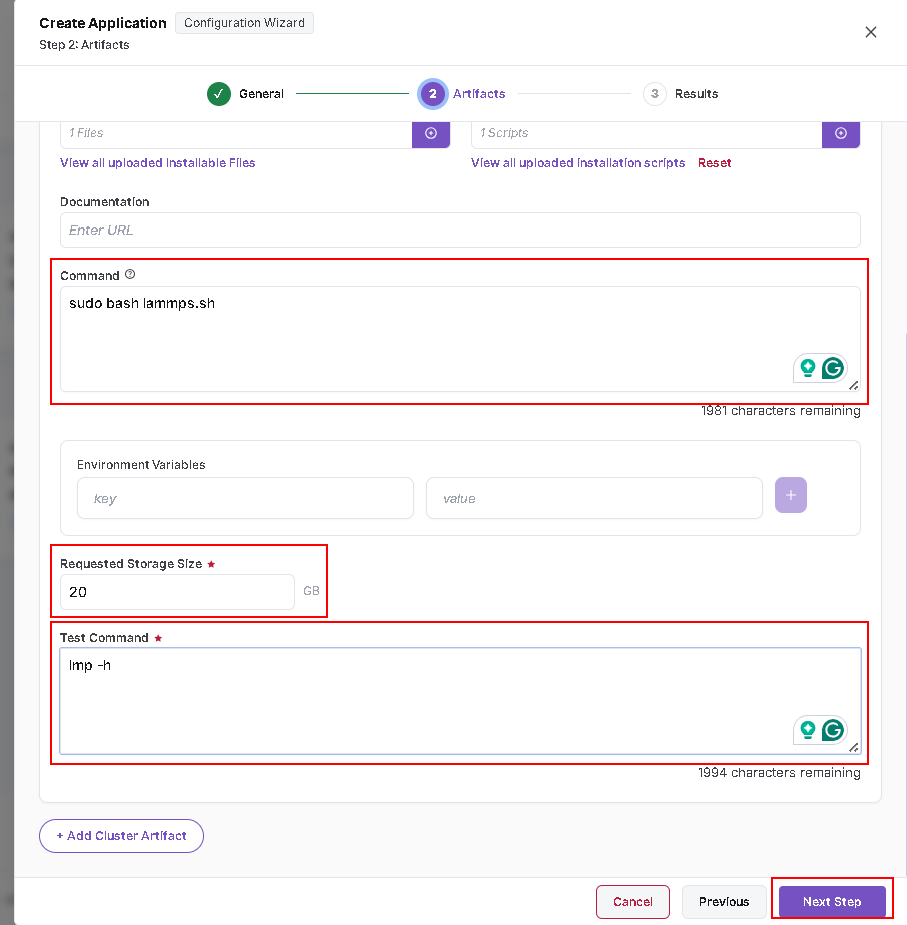
Complete Artifact Configuration
Complete the remaining installation settings as applicable:
- Documentation URL
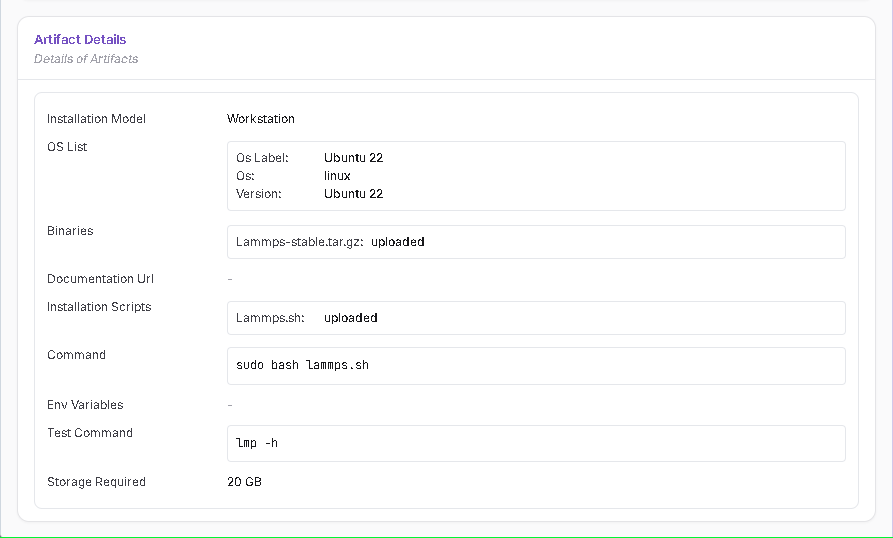
- Command used to execute the installation
- Environment Variables
- Requested Storage Size
- Test Command used to validate the installed application
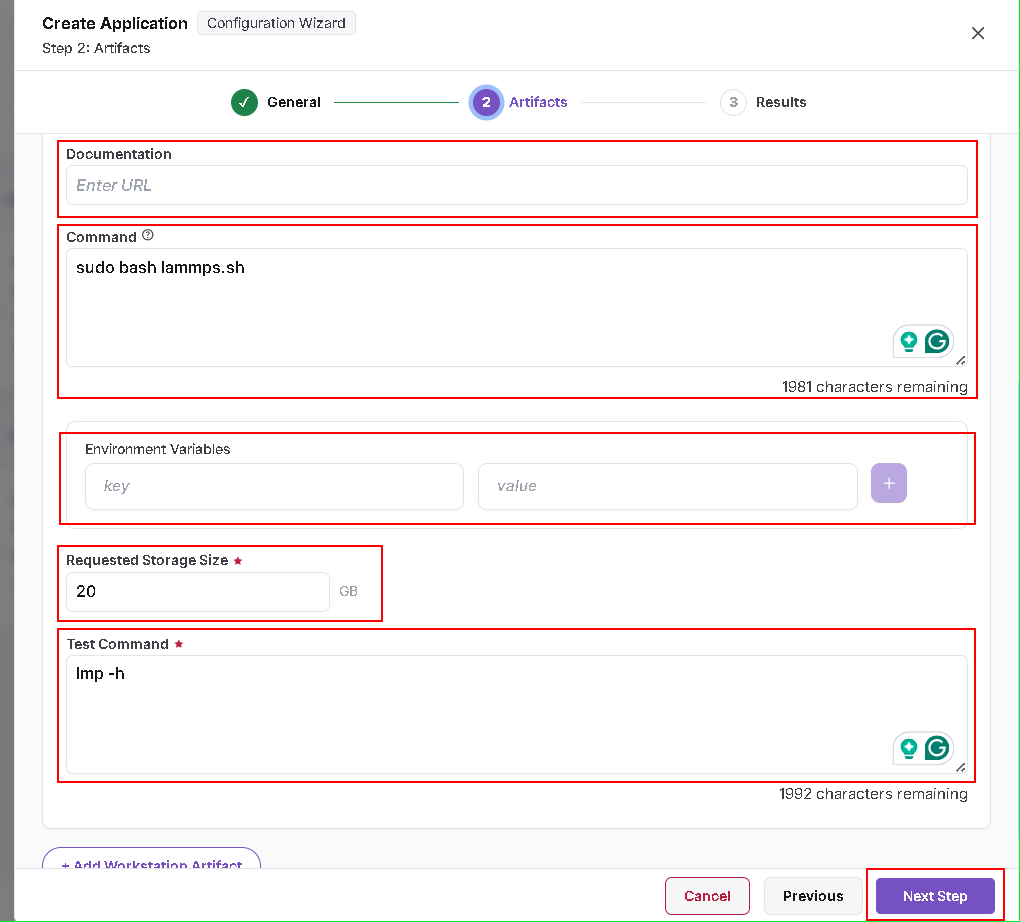
After completing the required artifact details, click Next Step.
Step 3 — Results / Review
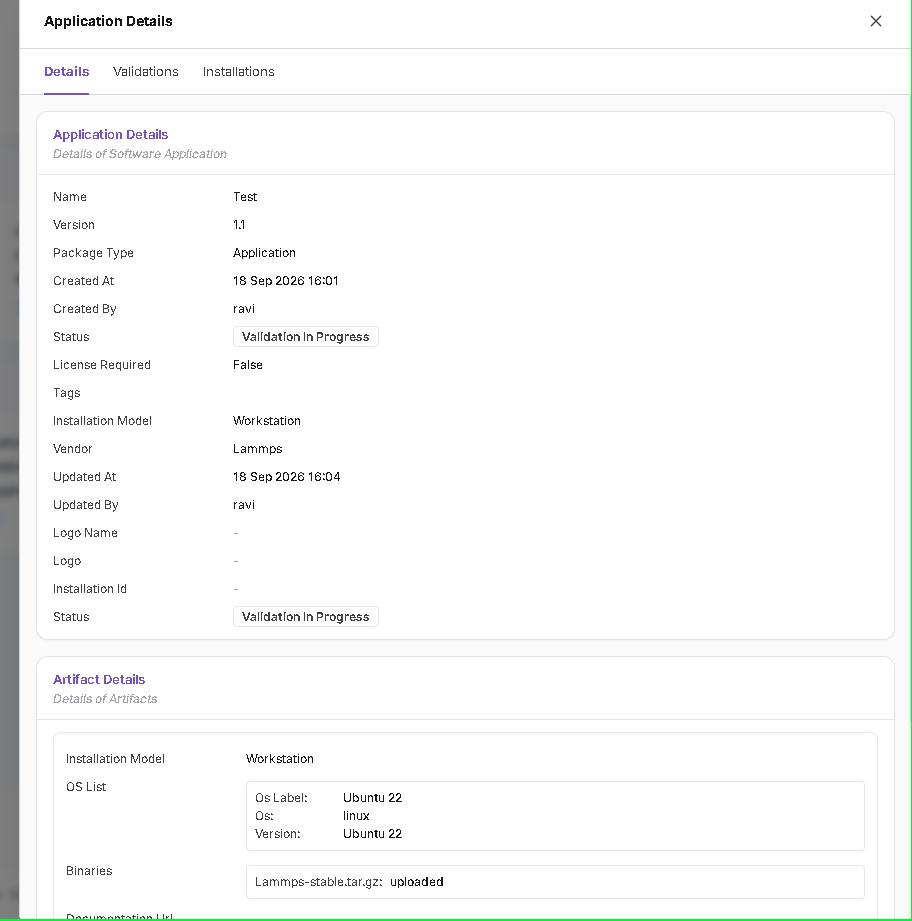
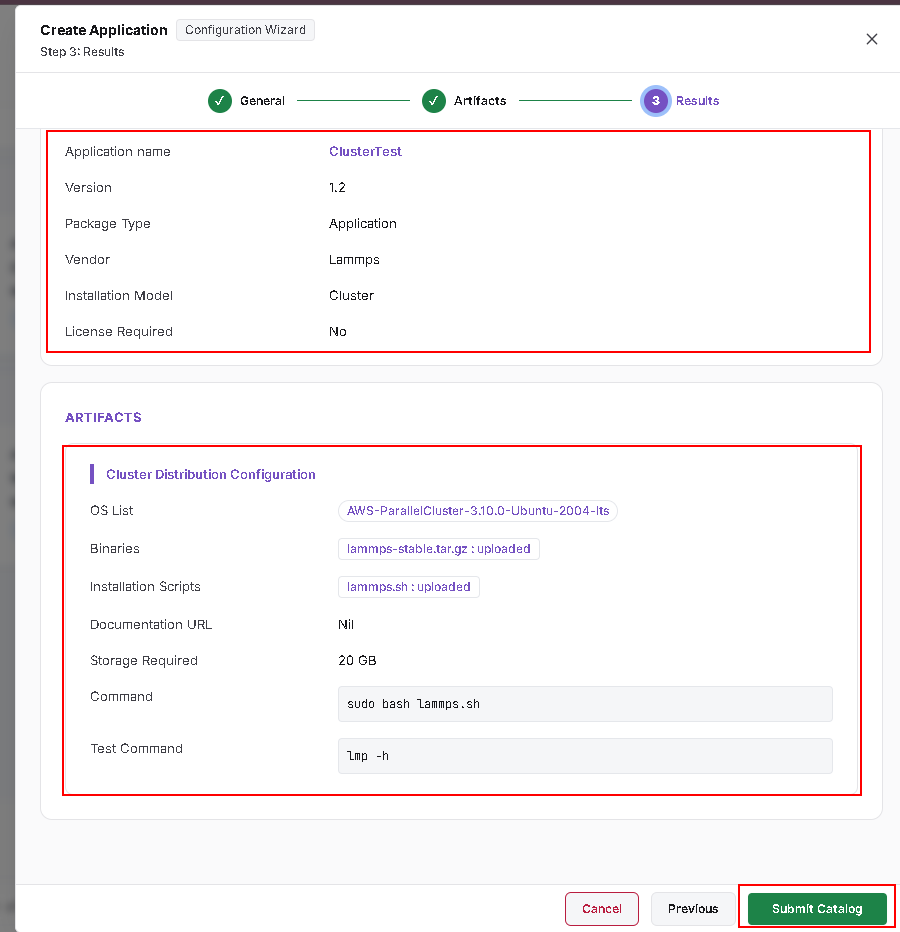
The Results step displays the configuration entered in the General and Artifacts steps. Review the application metadata, installation model, operating system, uploaded files/scripts, command, storage requirement, and test command before submitting.
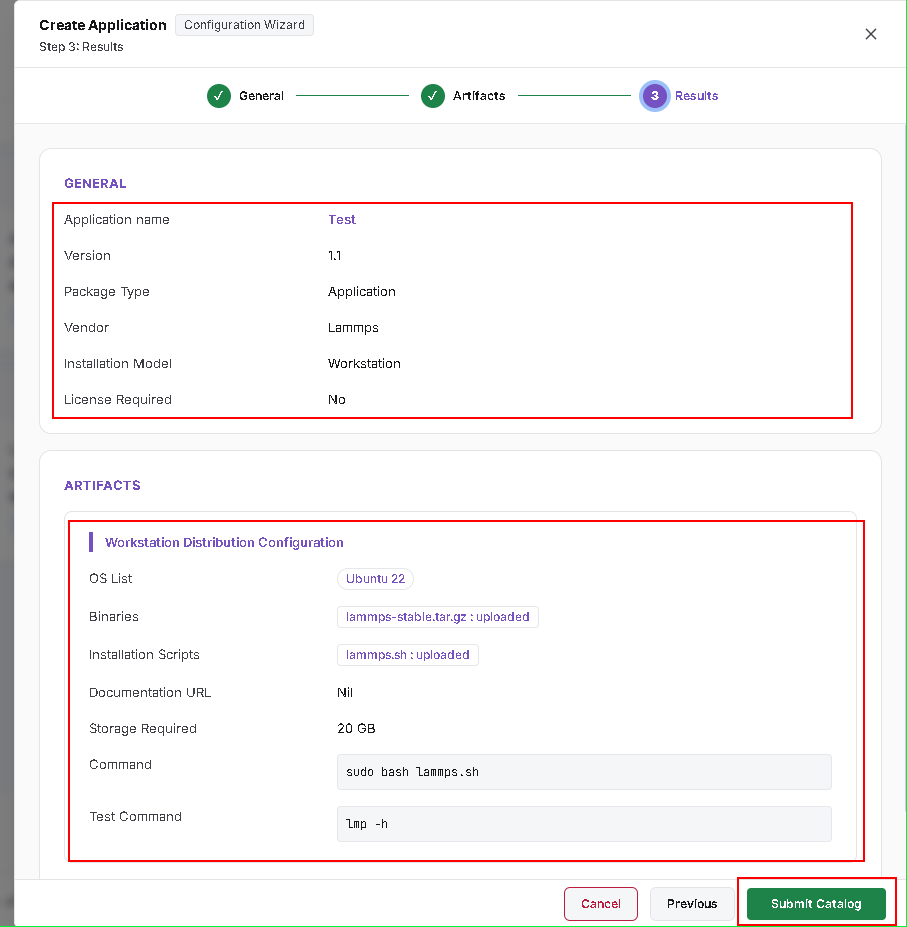
If the information is correct, click Submit Catalog. The newly created application appears in the Software Catalog in Draft status.
Validate the Application
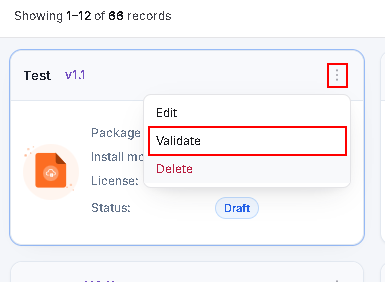
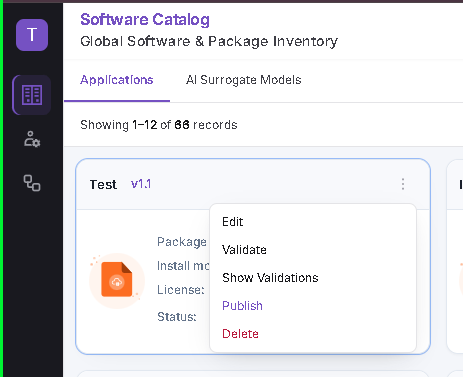
For an application in Draft status, open the three-dot action menu and select Validate.
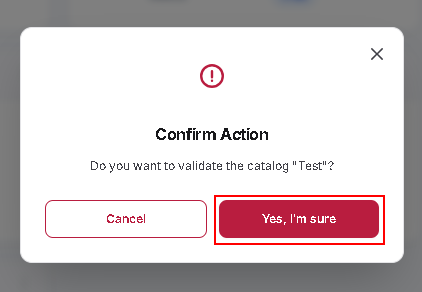
Confirm the validation action when prompted.
The status changes to Validation In Progress while the validation runs.
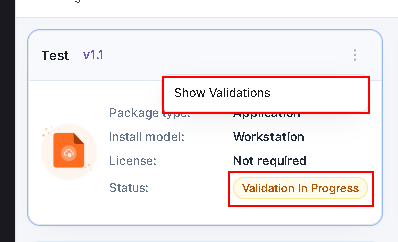
After successful validation, the application shows Validation Completed.
Publish the Application
After validation completes successfully, open the action menu and select Publish. Once published, the application is ready for its target-specific action.
Workstation Flow — Publish to Workstation Catalog
For a published Workstation application, open the action menu and select Publish to Workstation Catalog.
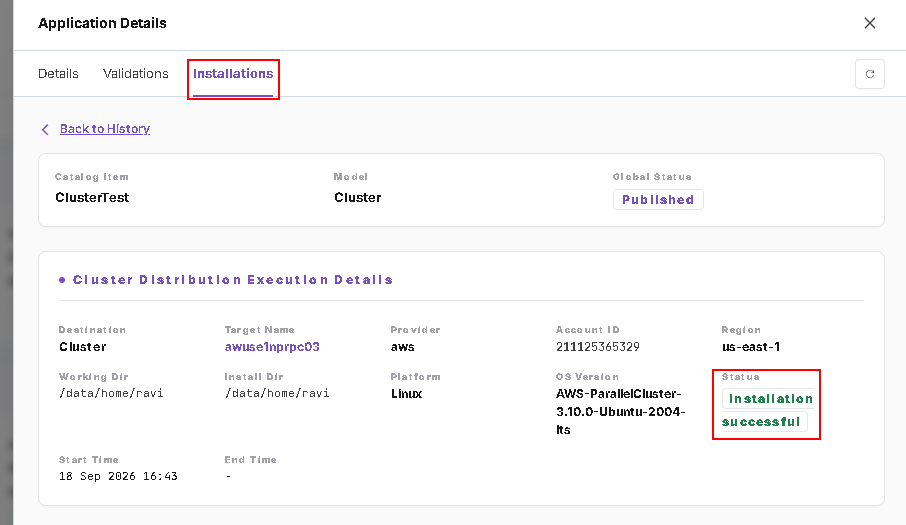
Use Show Installations or open the application's Installations tab to review the Workstation installation/distribution information and status.
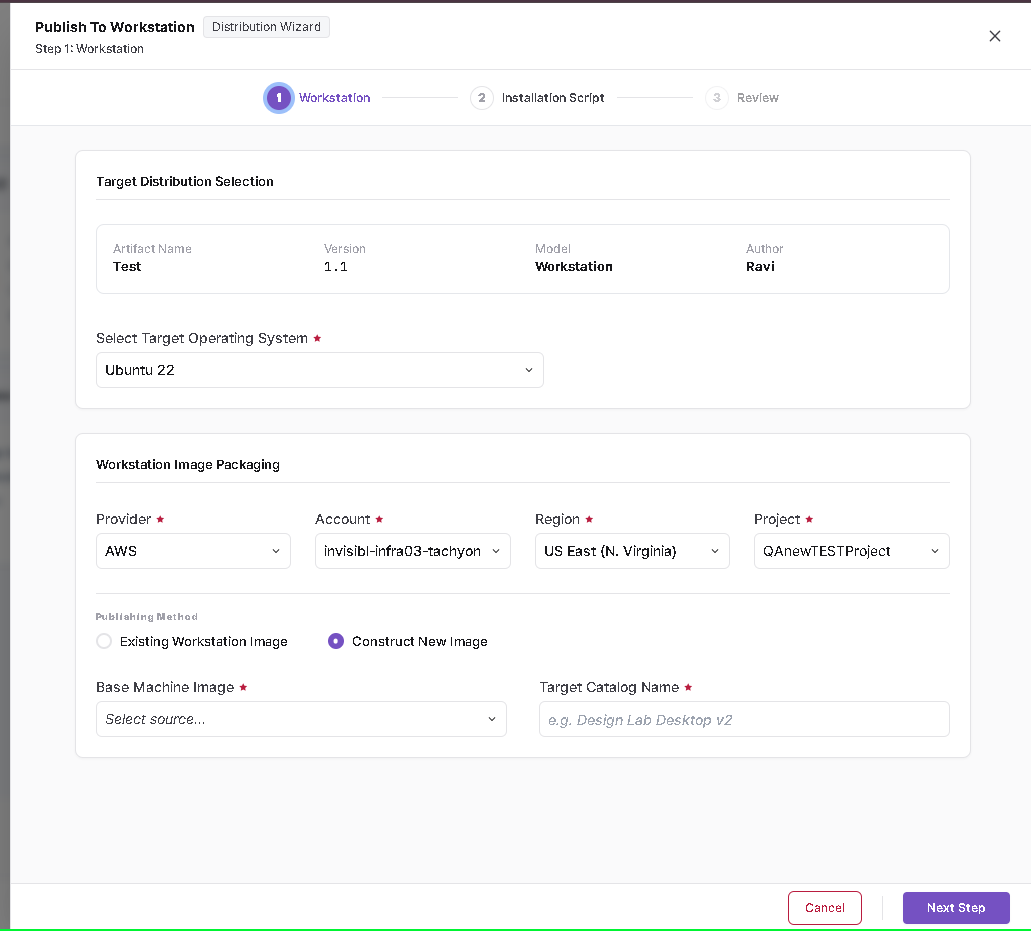
The Workstation lifecycle is:
Create → Validate → Validation Completed → Publish → Publish to Workstation Catalog
Cluster Flow — Install to Cluster
The initial creation flow for Cluster applications is the same General → Artifacts → Results wizard.
When Cluster is selected as the installation model, provide the application details and continue to Artifacts.
Select the required operating system and configure the Cluster artifacts.
Wait for successful confirmation after uploading the installable file and installation script.
Complete the command, storage, test command, and other required artifact settings, then proceed to Results.
Review the Cluster package configuration and submit it.
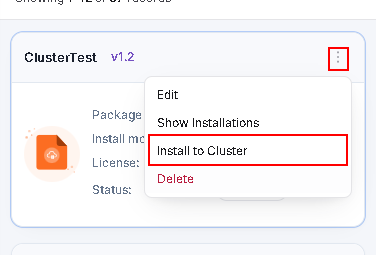
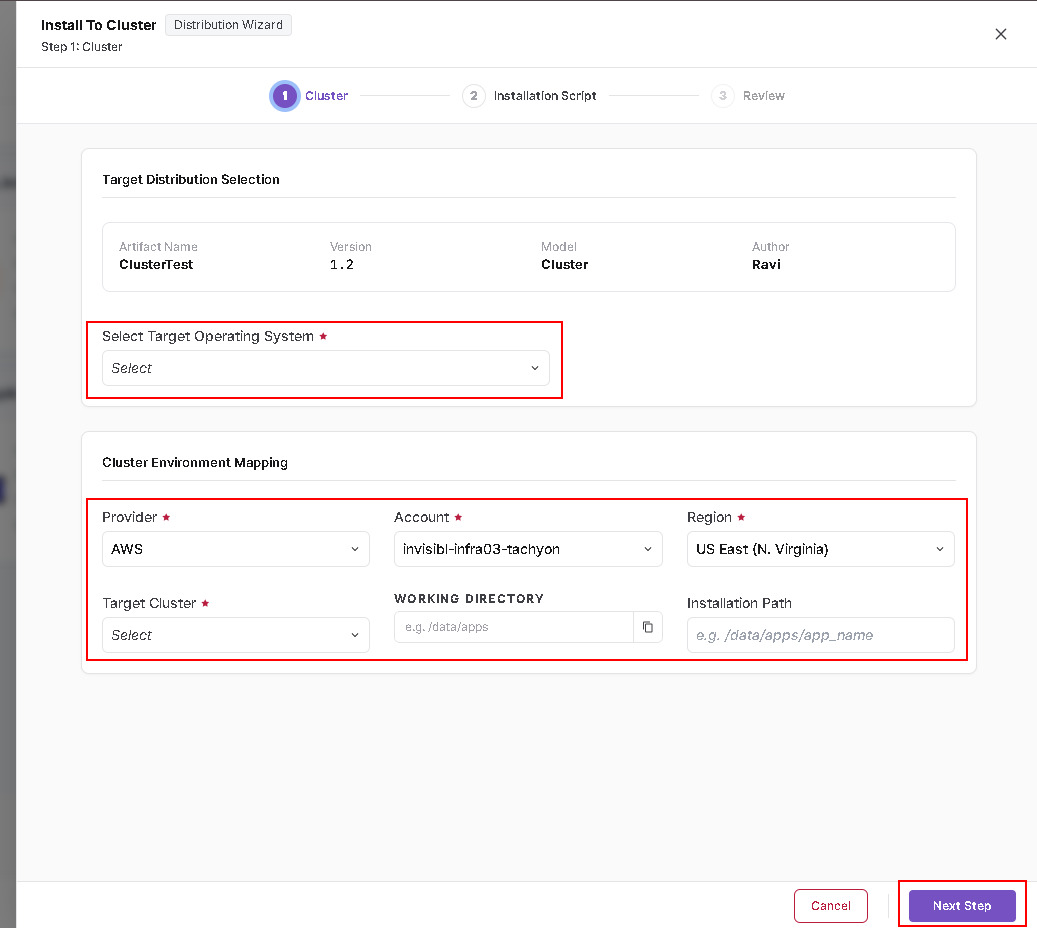
After submission, follow the same Validate → Validation Completed → Publish lifecycle. Once the Cluster application is published, open the action menu and select Install to Cluster.
Configure the target Cluster installation details in the installation wizard.
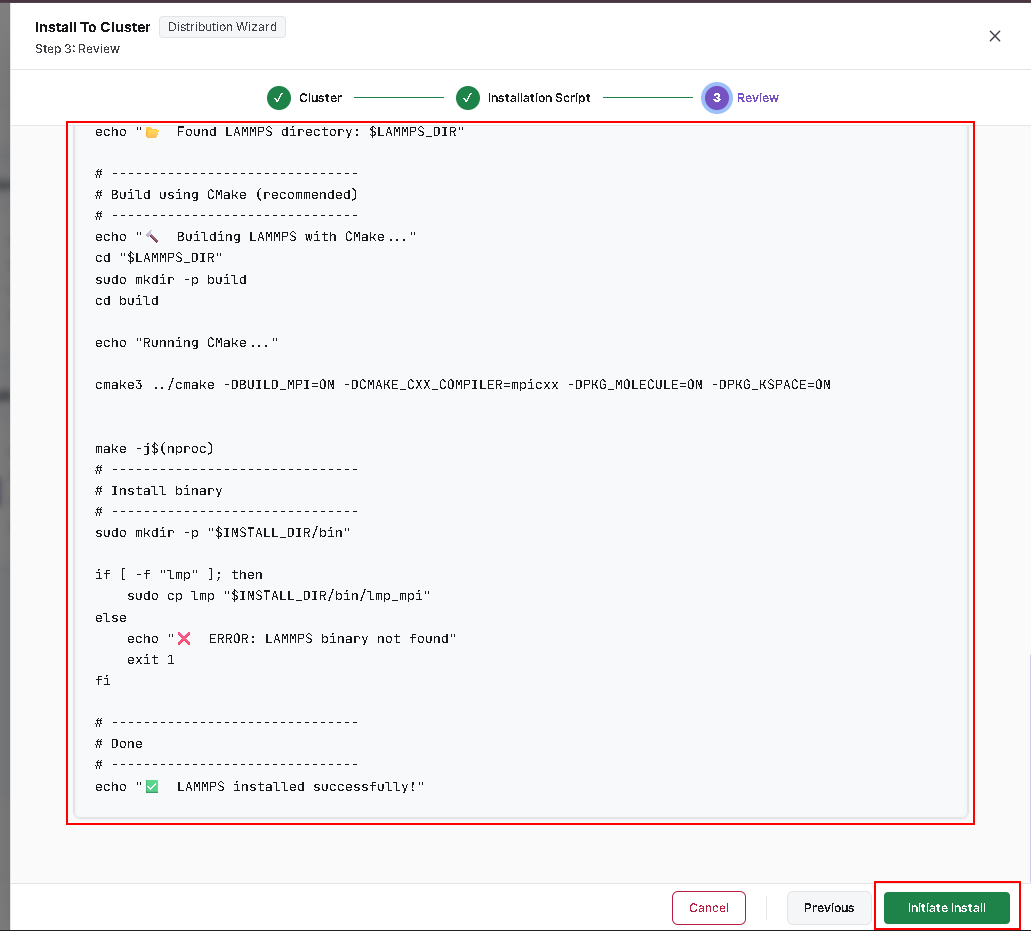
Review the installation configuration and start the installation.
Use Show Installations or the Installations tab to monitor the installation and confirm its final status.
The Cluster lifecycle is:
Create → Validate → Validation Completed → Publish → Install to Cluster → Installation status
Workstation and Cluster
When Both is selected as the Installation Model, the creation wizard remains the same. After submission, the system creates the corresponding Workstation and Cluster items. Complete the applicable lifecycle for each item:
- Workstation: Validate → Publish → Publish to Workstation Catalog
- Cluster: Validate → Publish → Install to Cluster
Application Details
Open an application to view its detailed information. The application details page provides tabs such as Details, Validations, and Installations, which can be used to review configuration and track validation or installation activity.
!!! note The AI Surrogate Models tab is available in Software Catalog, but its workflow is not covered in this section. It can be added separately when the feature documentation is required.